Are you a property manager in New Jersey? Do tenants feel frustrated and keep on calling you? Their food orders are not delivered on time, boxes are piling up in the lobby, and your installed, failed old intercom is letting even strangers in. Every month, the breakdown of the old intercom is draining your monthly budget. Tenants come home late at night only to find the intercom is not working, and feel stuck. ButterflyMX entry system is the solution for all your tenants’ frustrations.
We at MetroCom Security understand your pain and frustration completely. This blog will guide you through everything you need to know about the ButterflyMX door system. What and how it is, a step-by-step process to install it. By the end of this blog, you will know why it is popular among property managers, building owners, and certified intercom installers.
Understanding the ButterflyMX Intercom System
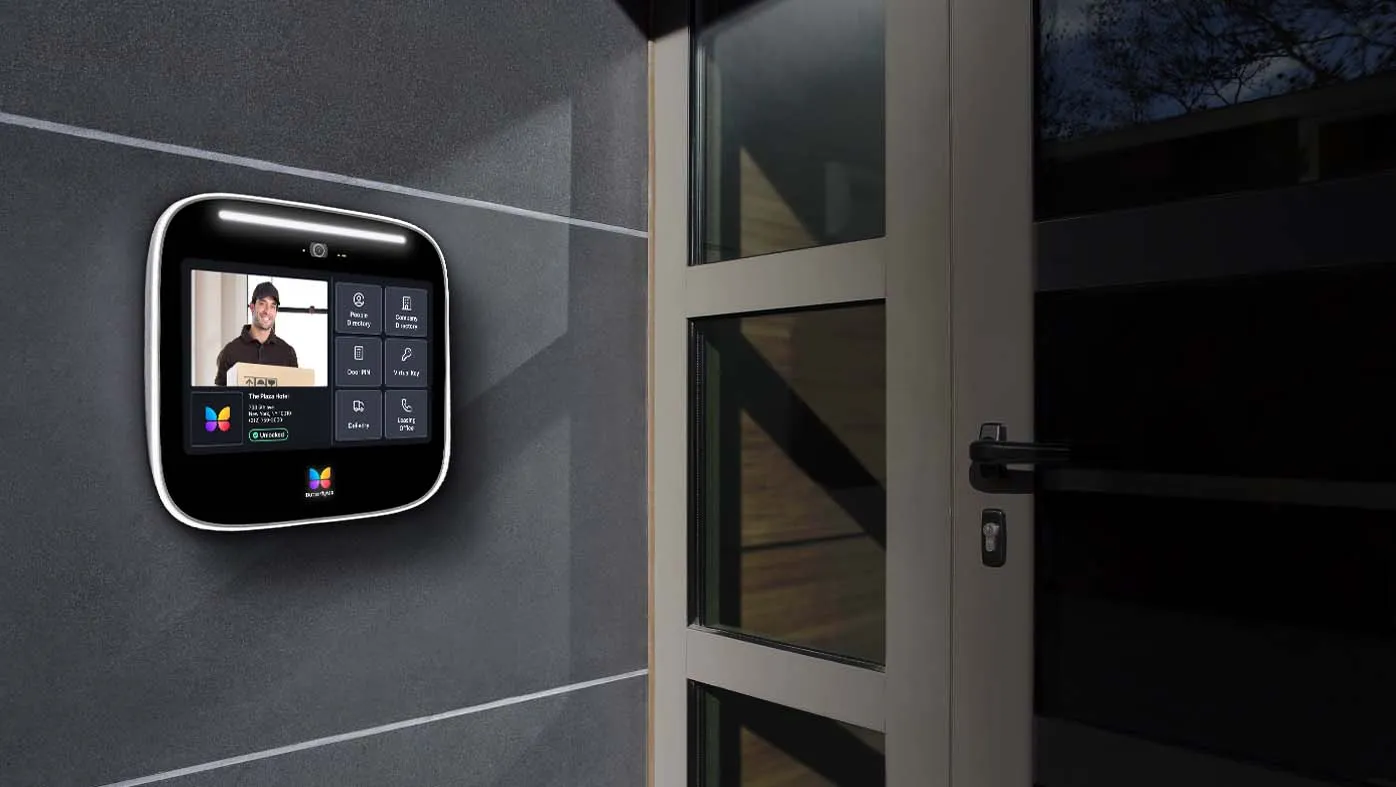
The ButterflyMX video intercom installation is the ultimate solution for all property managers, visitors, residents, and building owners. Over one million users have installed this system, making this a trusted brand for boosting your security. This is a secure system that manages property access through its smart technology. Cloud-based entry systems allow seamless connectivity with smartphones.
Some of the main key features include
- Remote mobile app access allows tenants and business owners to open doors, manage property access, and manage permissions from any part of the world, from your single device.
- Modern and cost-effective cloud-based access control allows for updates to be set remotely with no in-unit hardware and wireless connectivity.
- These intercom systems are designed such that they can withstand any weather conditions. Hardened materials are used, and a vandal-resistant touchscreen is made from a durable polycarbonate display.
- Resident directories on the system can allow any resident to enter by searching their name or unit number through simple scrolling.
- Visitors can now gain access to your property even if you are not there, through a simple QR code scan.
- Video installation allows users to see and speak with visitors.
- These systems come in different sizes, making them suitable for everybody.
Preparation: Timeline, Permits, and Checklist
Planning is the key to perfection at work. So, it is important that before you begin, you plan accordingly.
- Timeline: Standard installs take less time, usually 1-2 days, whereas retrofits take longer.
- Permits: It is necessary that you check local rules to avoid later disturbances. You may need to obtain permits for electrical work or intercom wiring.
- Checklist Essentials:
- To qualify for a two-year hardware warranty from ButterflyMX, you need to take 30-minute certifications. So, make sure that you are a certified installer before installing.
- You need to assess the site first and decide where the system will go.
- Keep tools and cables ready.
- Keep your budget clear in mind, covering all the costs.
- Make sure that the AC is not used to power the video intercom.
Tools and Materials Needed
- A ButterflyMX packaging list includes smart video intercoms, mounting accessories, and other components like the power supply, power cable, and video intercom keys.
- What installers provide are cat cables, additional low-voltage cable, UPS, isolation relays and adapters, when no access control system is present.
- General tools that you will need are a smartphone, a screwdriver, a drill, fishtape, a razor blade, or a scraper.
Pro Tip: Check whether the height of the intercom complies with ADA so that the person with disabilities can also use it without any barriers.
Step-by-Step Installation Guide
Follow these steps for a smooth video intercom setup:
Step 1: Unboxing and capturing the serial number
Unbox the video intercom carefully. Use the keys provided with the kit to remove the backplate present at the bottom of the intercom. Note the serial number and activate the intercom by calling ButterflyMX.
Step 2: Power Connection
The next step includes connecting the power. The intercom is connected with the power adapter and then linked to the UPS and the power source. If you have to use extra low-voltage cable, strip and separate conductors, twist, splice, and cap them securely. The final step in this row is to test the splice with a multimeter so that proper confirmation of the connection can be worked out.
Step 3: Network Connection
Now, it’s time to connect the network. Connect a Cat 5e/6/6A cable to the intercom with a router having a good internet connection. Make sure that the intercom is properly powered. The cable should also be of proper length and have no splices. It is needed to use a network switch for distances over 300 ft.
Step 4: Relay Connection
If you have an access control system, you can use it directly. If it is not present, an isolation relay is needed. Diodes or resistors are needed so that the intercom can be protected and prevent kickback voltage. To check the connected strike lock unlocking, activate the full system by activating the video intercom.
Step 5: Video Intercom Mounting
Look for whether you are installing a 7” or 11.6” unit. Attach the mounting backplate or backbox. Run all the cables that are needed, connect the power, connect the network and relay wires. Then start securing the intercom to the backplate or backbox. Ensure that it is properly aligned.
Step 6: Activating and testing
Activating the smart intercom system requires calling the ButterflyMX intercom support team. Provide them with the serial number, building address, and wiring details. They will assist in performing a test to confirm that audio and video are working properly. Door lock functionality will be checked. Now, when everything is checked successfully and works perfectly, the installation is completed.
Post-Installation: Setup, Testing & Training
After everything is installed, it’s time to check whether the setup is done properly or not. For that, proper testing is also needed. Make sure the video and audio are clear and of good quality. For easy and feasible access, let tenants know how to use the mobile app. Keep software updated and check regularly that all wiring is working properly.
Common Challenges and Troubleshooting
Even the best things can face issues. These are the common problems one can have while installing.
- Wiring errors – Installers should carefully double-check the wiring diagram to avoid any equipment failure or even a safety hazard.
- Activation delays – Sometimes, you note the serial number wrong, and the activation gets delayed. So, be careful.
- Permit delays – Be ready and prepared with all the rules and regulations related to your local authority that can halt your installation.
If you still face any problem, then ButterflyMX support is there to reach out.
Conclusion: The Smart Upgrade for Any Building
The ButterflyMX door system is the solution to many problems faced by the property managers, tenants, building owners, and all the temporary visitors. These systems provide a convenient, secure experience for the users. Careful preparation and a certified installer can make this smart intercom system installation easily successful.
Ready to get started? Download your FREE installation checklist today and make your next intercom project stress-free!